
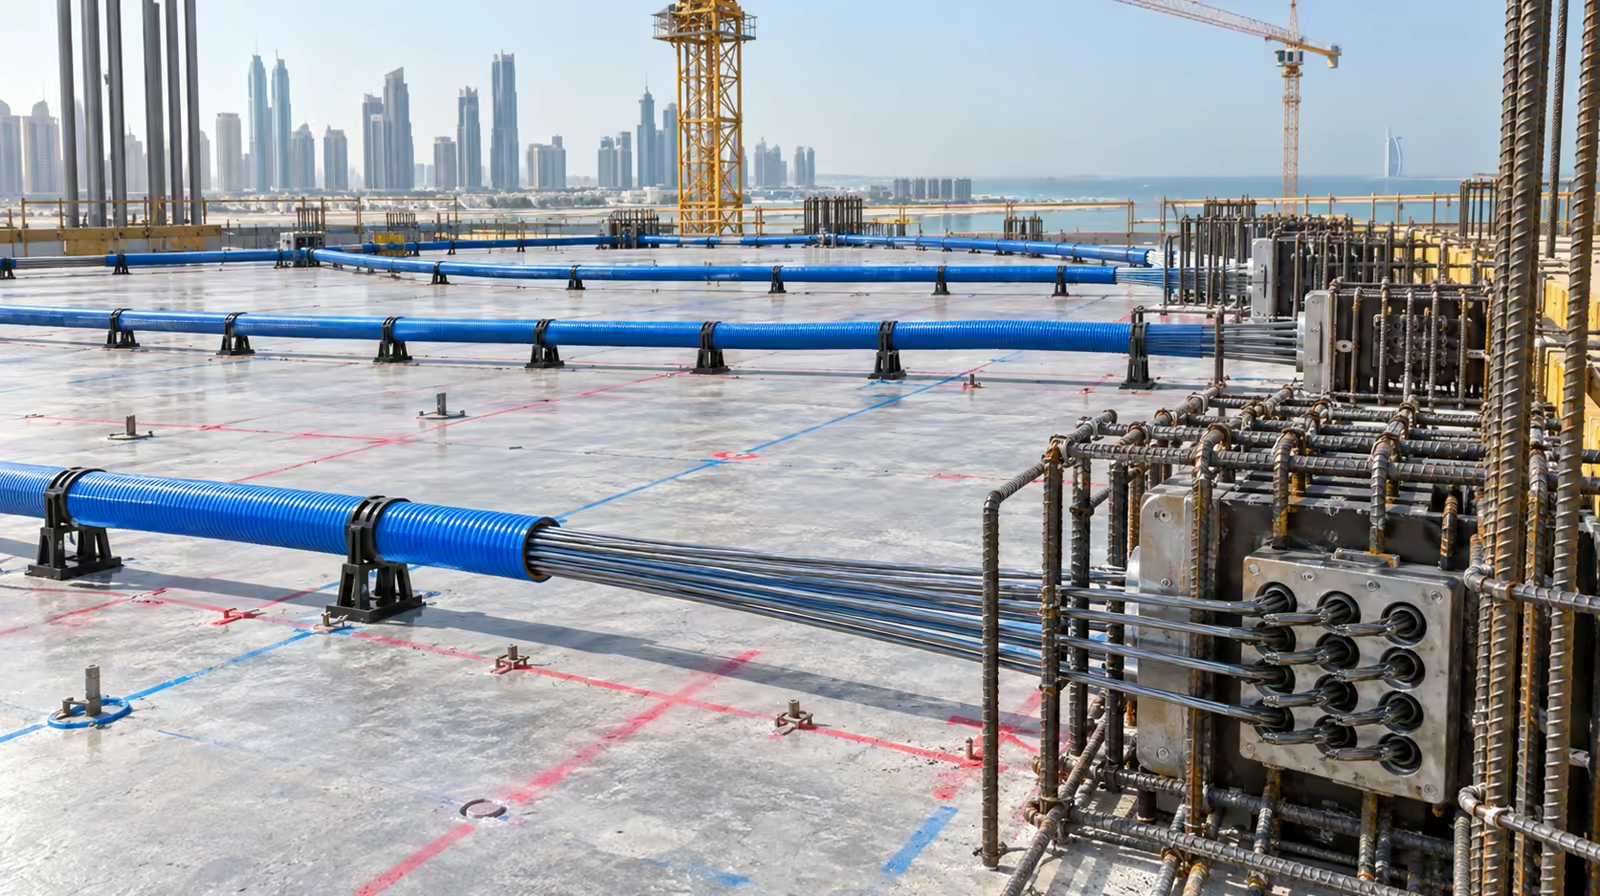
The installation is where the design either becomes real or quietly stops being true. A tendon sitting 20mm lower than its drawing at midspan is not carrying the load the calculation assumed it would, and nobody sees it once the concrete goes in. On post-tensioned projects across the UAE, the sequence below is what actually happens on the deck between the reinforcement going down and the pour going in.
What Arrives on Site, and What Is It?
The tendon itself is a seven-wire prestressing strand, most commonly 12.7mm diameter, which is high tensile steel bearing very little resemblance to reinforcement bar. It is far stronger, and it is designed to be stretched.
In a bonded system, that strand runs inside a duct, typically a flat oval duct on a slab, which keeps it separate from the concrete so it can be stressed afterwards, and which is later filled with grout to bond and protect it permanently. Grouting is covered in detail on our grouting works page.
At each end sits an anchorage: a casting and wedges that grip the strand and transfer its force into the concrete. One end is usually the live end, where the jack will work. The other is the dead end, anchored before the pour.
Everything is scheduled against the drawings. Each tendon has a length, a profile and a position, and it is cut and labelled accordingly rather than sorted out on the deck.
How Does the Sequence Actually Run?
Formwork is checked first. The deck has to be right before anything is laid on it. Levels, edges, penetrations and any drops or steps. Discovering a formwork problem after the tendons are laid means lifting them again.
Setting out. Tendon positions are marked on the deck from the shop drawings. On a flat slab this typically means banded tendons in one direction, concentrated in narrow strips over the column lines, and distributed tendons spread across the slab in the other. That arrangement is not arbitrary; it is what lets a flat slab work without beams.
Bottom reinforcement goes down. Post-tensioning does not replace reinforcement. The two work together, and the sequence has to interleave them properly.
Ducts and tendons are laid. Placed along the marked lines, with anchorages fixed at the edges. Dead ends are secured. Live ends are set so the jack will have room to work, which matters more than it sounds, because an anchorage buried behind formwork or too close to an obstruction cannot be stressed. Once the tendons are placed and profiled, they are ready for the stressing operation itself.
Profiling. This is the part that determines whether the design holds. Each tendon has to sit at a specified height at every point along its length, low at midspan and high over the supports. That profile is held by support chairs at set spacings, and the chairs are fixed so they do not move.
Top reinforcement, penetrations and cast-in items. Everything that has to be in the slab goes in, coordinated around the tendons rather than through them.
Pre-pour inspection. Profiles checked against drawings, chair spacings, anchorage positions and fixings, duct condition, cover. This is the last moment anything can be corrected. Once concrete is placed, the tendon positions are permanent.
The pour. Concrete is placed and compacted with care around the anchorage zones, which are congested and highly stressed. Vibration is kept off the ducts.
Why profile accuracy is the whole game
The upward force a tendon provides comes from its curvature. Flatten the drape and the force reduces. Shift the tendon vertically and the eccentricity that generates the balancing effect changes with it.
On a 200mm slab, a tendon 20mm out of position is a meaningful proportion of the available depth. The slab will not fall down, but it will not perform as designed either, and the difference shows up as deflection or cracking years later, by which point nobody can inspect the cause without opening the structure.
This is why the pre-pour check is a genuine hold point rather than a formality, and why it is worth the consultant witnessing it.
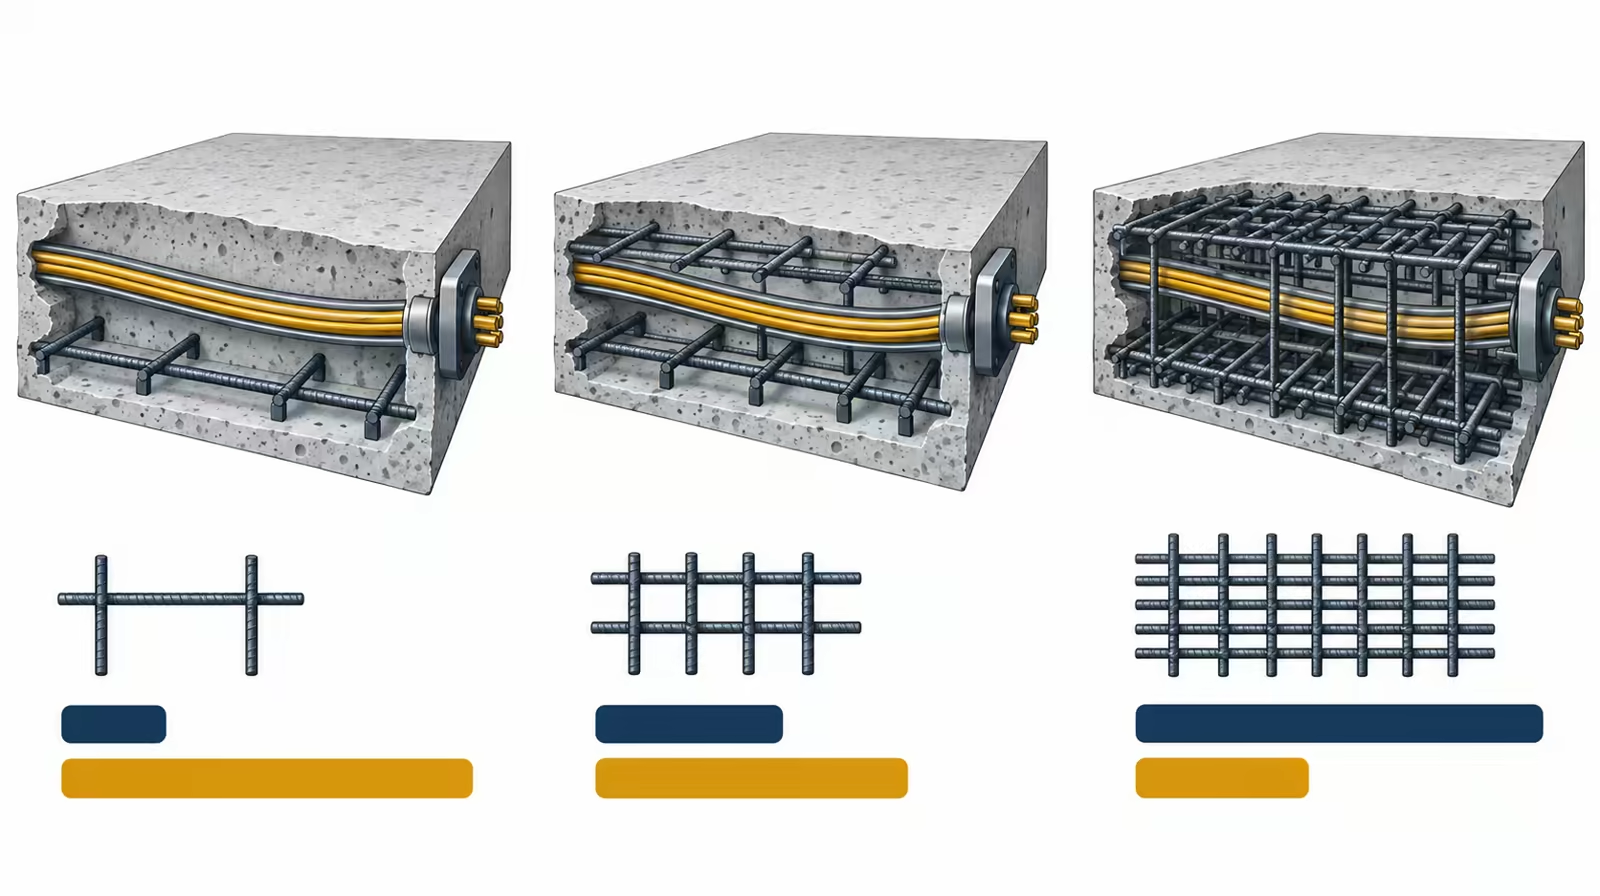
The installation sequence in order: formwork, setting out, reinforcement, tendons and profiling, pre-pour inspection, then the pour.
What Goes Wrong, and Why?
Almost never the technique. Almost always the coordination.
Late changes. A penetration added after the tendons are laid is a serious problem, because a tendon cannot simply be moved aside. A hole in the wrong place can cut a tendon that is carrying load. Openings must be agreed before installation, and any addition afterwards has to be checked against the tendon layout, not just the reinforcement drawings.
Chairs disturbed. Foot traffic across a laid deck moves things. Profiles are re-checked immediately before the pour for exactly this reason.
Anchorage access. A live end positioned where the jack cannot physically reach it stops the stressing operation dead. It is caught at design and detailing stage or it is caught expensively later.
Programme. Post-tensioning has to sit inside the floor cycle, not beside it. Tendon installation runs alongside the reinforcement works. Where a contractor treats it as a separate activity to be slotted in afterwards, the cycle stretches, and the delay gets attributed to post-tensioning when it was actually a sequencing decision.
What Should the Contractor Have Ready?
A clean, correct, accessible deck; the reinforcement sequence agreed so the two trades interleave rather than collide; all penetrations confirmed; edge formwork detailed to suit the anchorages; and a pour date that is real, because the stressing and grouting operations are scheduled against it.
None of that is exotic. It is the difference between a floor cycle that holds and one that slips, whether the project is a single villa or a multi-tower development anywhere in the UAE.
Across our Ajman projects the installation scope has consistently used 12.7mm pre-stressing strand with flat slab anchorages and smooth flat duct, on slabs between 220mm and 280mm thick. That combination is standard for the mid-rise residential and mixed-use buildings common across the emirates.
See how this plays out across our post-tensioning work across the UAE.