
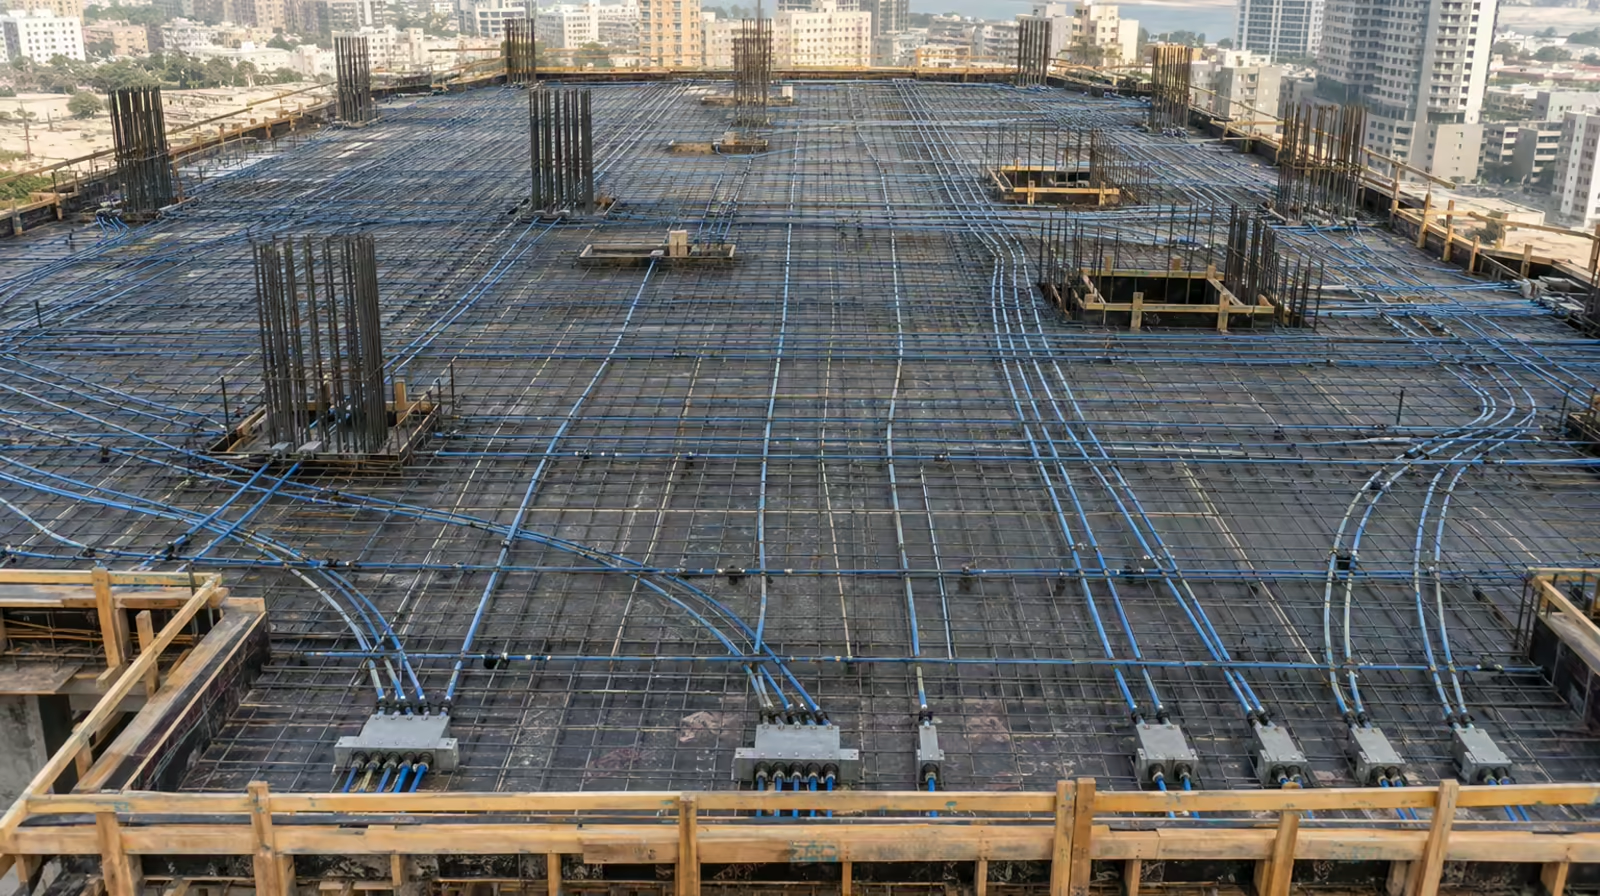
Post-tensioning is a specialist package sitting inside a main contractor's programme. The specialist designs, installs, stresses and grouts. The main contractor provides the deck, the access, the services and the approvals that let each of those steps start on time. When either side assumes the other has an item covered, the slab waits.
This guide sets out that split as it is written in our own contracts. It covers what we deliver, what the main contractor provides at each stage, and the order the work runs in.
Why Does a Post Tension Slab Method Statement Only Work When the Scope Split Is Clear?
Because almost every step in the sequence has two owners.
Take initial stressing. The jack, the crew and the elongation records belong to the post-tensioning contractor. But stressing cannot begin until the edge shutters are off, the concrete has been cured, and a lab certificate confirms the cubes have reached the strength the design asks for. All three of those sit with the main contractor. A method statement that lists "initial stressing" as a single activity hides four separate dependencies.
A method statement for post tensioning slab works should therefore do two jobs. It should describe the technical procedure, and it should name who provides each input before that procedure can start. The second job is the one that gets skipped, and it is the one that protects the programme.
The split below is not a theoretical model. It is the scope wording used across four post-tensioning contracts we signed between July 2025 and April 2026 on residential buildings in Ajman, and it was identical in all four.
What Does the Post-Tensioning Contractor Deliver?
On a full design-and-build package, the post-tensioning contractor's scope runs from the first drawing to the last grouted duct. In our contracts it covers three parts.
Design. Full PT details and shop drawings, anti-burst details at the anchorages, and extension (elongation) calculations for every tendon. These are submitted for consultant approval. Design takes about one week once the main contractor has approved the layout and provided current drawings.
Materials. Flat slab anchorages, smooth flat duct and 12.7mm prestressing strand. This is a bonded system: the strand runs inside a flat duct that is grouted once stressing is complete.
Site work, with supervision and equipment. The duct is fixed on 6mm bar chairs to hold the tendon profile. Our crew then installs the tendons, carries out initial and final stressing, and grouts the ducts. Elongation is measured against the calculated figures throughout. If you want the detail of each operation, we have written separately about the tendon installation process and how post-tension slabs are stressed.
What the post-tensioning contractor does not provide matters just as much. It does not supply formwork, conventional reinforcement, concrete, curing, power, water, lifting, storage or the general site labour. Those sit with the main contractor, and the next section lists them in the order they are needed.
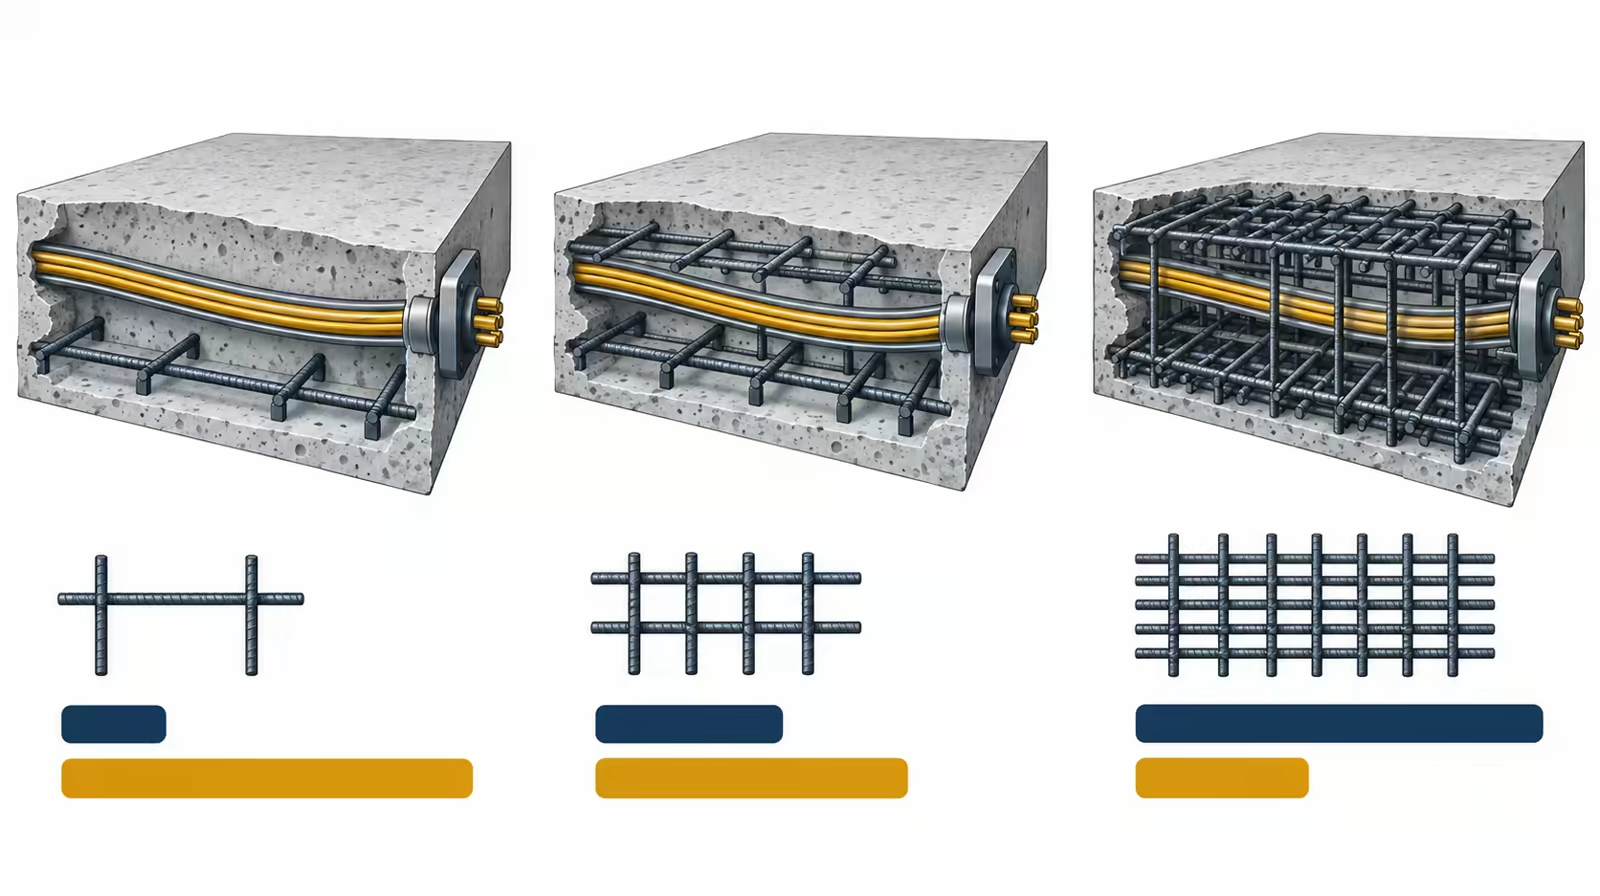
The on-site sequence the method statement has to cover, in order.
What Must the Main Contractor Provide? The Stage-by-Stage Checklist
Use this as a working list. Each stage has to be complete before the post-tensioning crew can move to the next one.
Before the PT design starts
☐ Up-to-date structural and architectural drawings in AutoCAD format
☐ Setting out confirmed, so column positions, openings and slab edges on the drawings match what will be built
Design runs from these files. A drawing revision issued after the shop drawings are approved means the tendon layout has to be revised too, so the latest set needs to be the one we start from.
Before tendon installation
☐ Formwork in place, including pans and edge shuttering, plus basic tools
☐ Holes and slots cut in the edge shutters where our PT supervisor marks them for the anchorages
☐ All conventional reinforcement fixed, including bursting reinforcement behind the anchorages, punching-shear reinforcement at the columns, and support chairs
☐ A clean area set aside for tendon fabrication
☐ Labour working under PT supervision, typically 4 to 5 workers
☐ Single-phase and 3-phase power within 20 metres of the work
☐ Water available on the deck
☐ Stage platforms at least 1.0 metre wide at slab edges and openings
☐ Storage space for strand, anchorages and duct
☐ Lifting and hoisting for materials and equipment
The slot positions are worth singling out. Anchorages have to sit exactly where the shop drawings place them, so the edge shutter cannot be cut until our supervisor has marked it. The stage platforms matter for the same reason: stressing happens at the slab edge, and the crew needs a safe working surface there, not a ladder.
Before stressing
☐ Curing carried out to the specification
☐ Edge shutters and pans stripped in time for initial stressing
☐ Lab cube test certificates issued before initial stressing
☐ Lab cube test certificates issued before final stressing
Stressing is driven by concrete strength, not by a fixed number of days. The certificate is what releases the jack. Our guide to cube testing and consultant sign-off explains why consultants treat this paperwork as a hold point.
After stressing, before grouting
☐ Surplus strand cut off at the anchorages
☐ Anchorage pockets filled with mortar
☐ Fresh bagged OPC supplied for the grout, stored below 20 °C
☐ Grout admixtures supplied
☐ Chilled water available if needed
The temperature points are specific to UAE conditions. Warm cement and warm mixing water shorten the time the grout stays fluid, and grout has to travel the full length of each duct before it stiffens. Cool materials give the operation the time it needs. The post-tension grouting procedure covers the rest of that process.
Deshuttering and backpropping for post tension slab floors
☐ Methodical stripping of formwork after stressing and grouting
☐ Back-propping installed as the engineer directs
☐ Overall engineering supervision of the site maintained throughout
Post tension slab deshuttering is not the same exercise as on a conventional slab. Until the tendons are stressed, the slab is not carrying its load the way it was designed to, so the soffit formwork stays in place. Once stressing is complete, stripping should follow a set order rather than a rush to recover the formwork for the next floor. Back-props then carry construction loads from the floors above while the frame goes up. The stripping and propping sequence belongs to the main contractor and its engineer, which is why both appear on this list rather than ours.
What Are the Steps for Post Tension Slab Construction, in Order?
Put the two scopes together and the procedure of post tension slab construction runs in a fixed order. This is the sequence a post tension slab methodology section should follow, with the owner of each step named.
1. Drawings issued and approved. The main contractor supplies current AutoCAD drawings. We prepare the PT design, shop drawings, anti-burst details and extension calculations in about one week, and submit them for consultant approval.
2. Material lead time. Strand and anchorages arrive about two weeks after order by sea freight. Air freight is possible as a variation if the programme cannot absorb that.
3. Installation. The main contractor has formwork, edge shutter slots, conventional reinforcement, power, water and platforms ready. Our crew fixes duct on 6mm bar chairs and installs the tendons to profile, alongside the reinforcement works.
4. Inspection. Tendon profile, anchorages and reinforcement are checked before the pour, and the consultant inspection is arranged.
5. Pour. The main contractor casts the slab.
6. Curing. The main contractor cures the concrete and strips the edge shutters and pans ahead of stressing.
7. Initial stressing. Once the lab certificate is issued, we carry out initial stressing.
8. Cube results for final stressing. A second set of certificates confirms the strength needed for full load.
9. Final stressing. We stress the tendons to their final force and record elongations against the calculated values.
10. Cutting and pocket filling. The main contractor cuts surplus strand and fills the anchorage pockets with mortar.
11. Grouting. We grout the ducts using the OPC, admixtures and chilled water the main contractor supplies.
12. Stripping and back-propping. The main contractor strips the formwork methodically and installs back-props.
On a typical floor, steps 3 to 12 repeat for every slab. Steps 1 and 2 happen once, at the start, which is why late appointment of the PT specialist is the most expensive mistake in the whole sequence. Three weeks of design and material lead time cannot be recovered once the first deck is ready.
Where Do Post-Tensioning Delays Usually Start?
Almost never in the stressing itself. Most delays start with an input that one side expected the other to provide. These are the common ones, described in general terms.
Late drawings or late revisions. If the AutoCAD set is not current, the shop drawings are built on the wrong geometry. A revision after approval reopens the design and the consultant review.
Slots not cut, or cut in the wrong place. If the edge shutter goes up without the marked slots, the anchorages cannot be set. Cutting them after the reinforcement is fixed is slow and awkward.
No platform at the slab edge. Without a safe stage platform, stressing cannot happen at that edge, however ready the concrete is.
Edge shutters stripped late. This is the one with lasting consequences. If the shutters are still on when initial stressing is due, stressing is delayed while the young slab continues to shrink. Restrained shrinkage at that age can cause cracking. Our contracts make cracking caused by late stripping the main contractor's responsibility, which is a fair reflection of who controls that step.
Cube certificates not ready. The concrete may well be strong enough, but without the lab certificate there is no evidence, and stressing waits.
Cement or water too warm. In summer, OPC stored in the sun or mixing water straight from a tank can make grouting harder to complete in one continuous operation. Shaded storage and chilled water are cheap compared with a partially grouted duct.
Stripping too early or out of sequence. Formwork recovered before stressing, or in the wrong order, puts loads on the slab it was not designed to carry at that stage.
None of these is complicated. Each is simply an item with no named owner.
Which Lead Times and Exclusions Should the Programme Allow For?
Two items sit outside the site checklist but still decide whether the first deck is stressed on time.
Material lead time of about two weeks. Strand and anchorage components are sea-freighted, so they are ordered once the agreement is signed and the shop drawings are moving. Air freight is possible when a programme is already late, but it is a cost the project should plan to avoid. Put the order date on the programme, not just the pour date.
Approvals and fees. Municipality fees and any third-party testing or inspection fees sit with the main contractor. Allow time for consultant approval of the PT shop drawings before the first installation date, because nothing goes on the deck until those drawings are approved.
The scope split in this guide is taken from four post-tensioning contracts signed between July 2025 and April 2026, all on residential buildings in Ajman's Al Yasmeen and Al Jurf areas. Together they covered about 21,500 square metres of PT slab across 31 slabs, from a G+4+R block to an 11-level building with two parking floors. Slabs ran from 220mm to 280mm at around 55 kg per cubic metre. The main contractor's list was the same in all four. You can see more of that post-tensioning work across Ajman.